Word vs Scrivener
The Difference in Philosophies
Length: 5 minute read
Aside from learning the user interface, new users face two conceptual hurdles to when switching to Scrivener from another word processor. These are tied to Scrivener’s different philosophy as to how best to write. It is based on two main principles:
It is better to break down a long piece of writing into smaller sections
It is better to separate style and content
Recent versions of the application have lessened the importance of the second principle. It is also a principle not unique to Scrivener, but one that is shared by many other software applications and technologies. However, it remains key to understanding why, in Scrivener, you normally compile a project rather than print or export it.
Note that, you are not forced to adopt this philosophy. You can use Scrivener as a traditional word processor, if you are willing to sacrifice some notable features, as I explain in another article. However, to get the most out of Scrivener, you should understand how its philosophy differs from applications such as Word.
The first chapter of the Scrivener manual offers a confused, rambling explanation of Scrivener’s philosophy. If you are after an elegant and succinct explanation, I advise you look elsewhere.
Instead, I suggest these two images represent the primary differences in philosophy:

Huh? I hear you ask. Let me explain.
Principal One: break down a long piece of writing into smaller sections
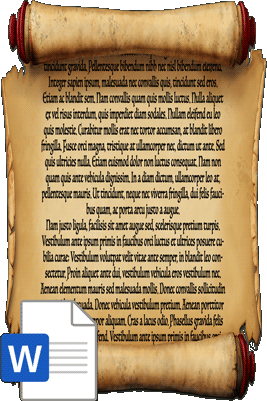
Word (along with most other word processors) primarily works on the single document principle: You create one file for each document, whether an entire book, a chapter, an article, a letter, or a recipe. In this respect, Word files are akin to a single piece of parchment that you move through by scrolling. It looks pretty, but can be frustrating to work with.
Scrivener, in contrast, works on a multiple-document principle. You create a single project file, within which you breakdown your manuscript into smaller documents. How small? The choice is yours. If you are writing a book, you may choose to create a separate document for each chapter. Alternatively, you may prefer to break it down into one document per scene. If you are writing an academic article, you might break it down by numbered section. At any time, you can click a button to see and edit these separate documents as if they were one.
Instead of a long piece of parchment, documents in Scrivener are like separate sheets of paper. You move through your manuscript primarily by switching to a different sheet, rather than through scrolling. Each document has a title and a virtual index card containing a synopsis and other optional metadata, such as labels and keywords.
This short video further illustrates the different approaches to organising and navigating through your manuscript:
Principal Two: separate style and content
When following the second principle, you only show essential formatting (such as italicising a particular word) within the editor. Scrivener does not offer Design Themes the way Word does. You make the manuscript look pretty when you compile. Why? Because often the appearance of your final document differs according to its destination. For example, the font size, line spacing and page margins of a paperback differ to those of a hardback, while agents or publishers will want work to be submitted double-spaced in 12-point Times New Roman on A4/letter. Rather than having to create and edit multiple Word files, with their own distinct formatting, Scrivener allows you to maintain one version of your work and export it into different formats as needed.

Early versions of Scrivener adhered to this principle more fully; however, the program’s creators have acknowledged that many writers like to format their work as they go. Therefore, the most recent versions offer near-complete WYSIWYG (What You See Is What You Get) capabilities, although its use remains optional. If you prefer, you can even combine both methods. For example, you can type and edit in 24pt red Comic Sans and still compile your manuscript to plain old 12pt Times New Roman.
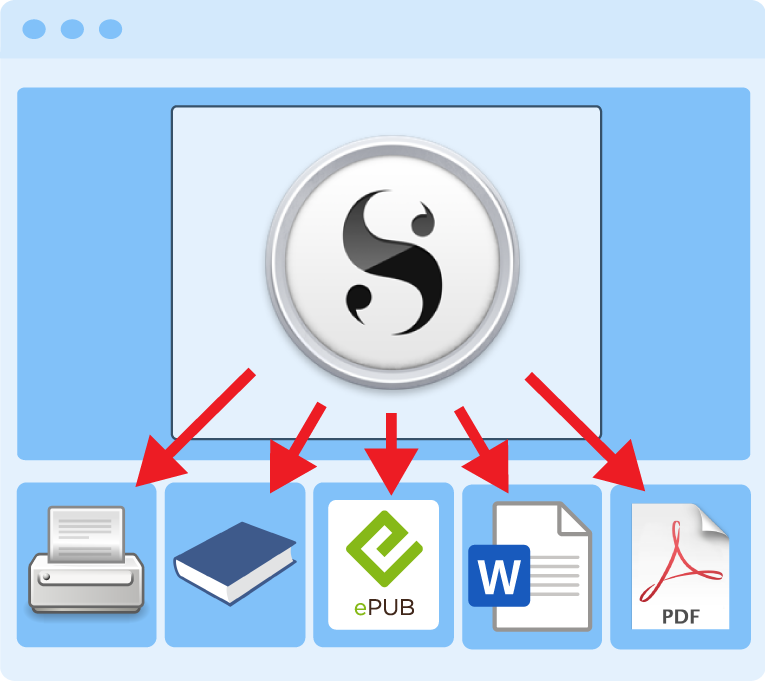
Think of compiling as being similar to printing. You select which documents in your project you want to compile and the format you want to create, such as a Word document, a PDF, or an e-book. However, in comparison to printing, you have far more choice about how your manuscript will appear. You control, not only page size and margins, but fonts, headings, page breaks and a multitude of other options. To begin with, it is easiest to choose from one of the built-in presets. Later, you may wish to create your own. Note that compiling does not alter the documents in your project.
It can take time to fully embrace this idea and recognise its advantages. You can also exploit the strengths of both Scrivener and a traditional word processor. I usually write in Scrivener until I reach a point where I want to switch to Word. Sometimes this is to exchange a draft with a colleague or to submit a paper for review. In this case, I will re-import the Word file with any comments and make revisions in Scrivener before creating a final draft. When submitting Word documents online, I also like to take a quick look over the final version to ensure everything looks okay.