Automatically Duplicate Scrivener’s
Backups to Another Folder
A Step-by-Step Guide
Length: 5 minute read
I wrote this post in response to a question asking if it was possible to have Scrivener backup to two places at the same time. The straight answer is no, but I use Folder Actions (which are built into MacOS) to achieve a similar result.
It’s a little geeky, but the folder action below automatically copies any new files that appear in the folder to a different location. In my case, I have it attached to my Scrivener backup folder. Every time a new backup is added by Scrivener, a copy is made to my Google drive. This means I always have a recent local copy (I set Scrivener to keep only the last 5) and an archive of all my backups on Google drive, which I prune once a year or so, depending on how full my drive is.
(Instructions given for Catalina 10.15)
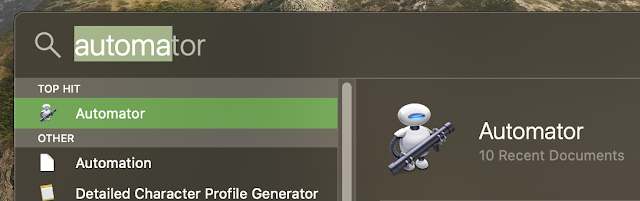
- Open Automator:
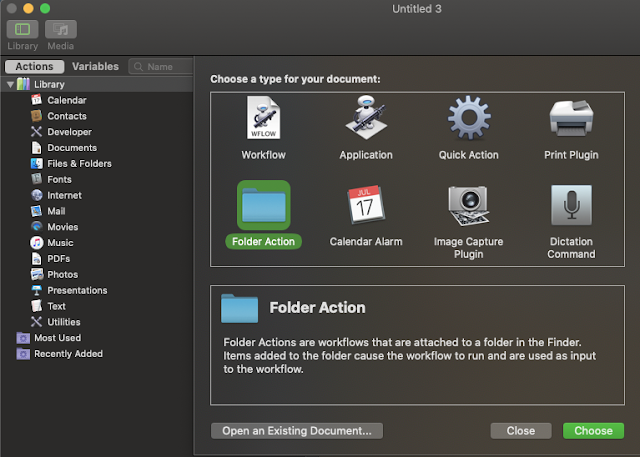
- Create a new Folder Action:
- The sidebar shows you a list of categories and actions. Choose Copy Finder Items:
- Choose the Scrivener backup folder for your source (check your Scrivener preferences, but usually: ~/Library/Application Support/Scrivener/Backups):
- Choose where you want the copies to go:
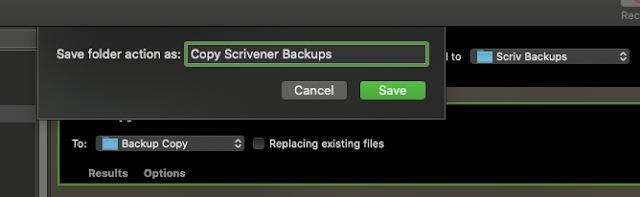
- Save the Folder Action with a memorable name. You might get a dialog asking for permission to allow access to your files. Click Allow:
- Quit Automator
- Go to your Scrivener backup folder in Finder (the same one you chose in Step 4)
- Two-finger-click on the folder and scroll down to the Services sub-menu and choose Folder Actions Setup… Confirm that you want to Run Service at the dialog box:
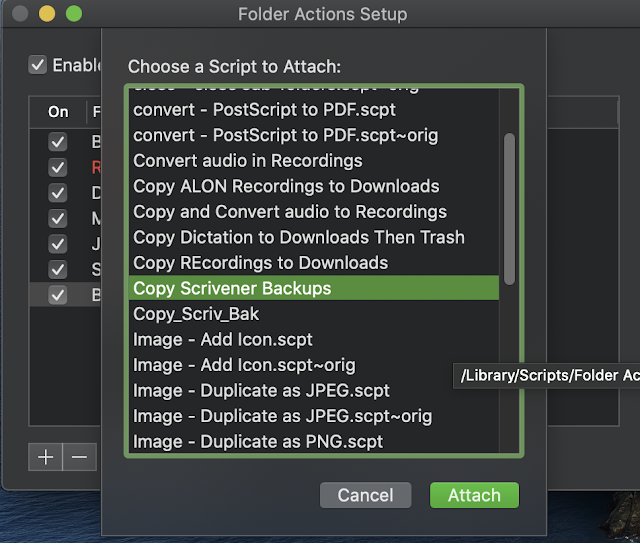
- Choose the Folder Action you just created:
- Quit Folder Actions Setup
- Now, whenever a new file is added to your Scrivener backup folder, it will be automatically copied to your new Backup Copy folder.
- Test to make sure it’s working.


Troubleshooting
If it doesn’t work as expected:
- Check that you have granted access to your files. This should happen when you save the folder action in Automator and respond OK at the dialog box. To make sure access has been granted:
- Choose Security & Privacy:
- Switch to the Privacy tab:
- Scroll down the sidebar to Files and Folders:
- Click the lock and authenticate to make changes:
- Scroll down the list to FolderActionsDispatcher. Make sure the location containing your source folder is ticked, e.g. your Documents Folder.
- If you cannot see FolderActionsDispatcher then something may have gone wrong when you saved your folder action in Automator. Try re-saving it and make sure to say OK when the dialog box asks permission to access your files.
- Try following the steps above with a test source and destination folder. This might narrow down if it is a problem with file permissions or with FolderActionsDispatcher.


